This is the day 5 of my journey using PowerToys following the post. ⏮️ Day 4: Peek
📝Description
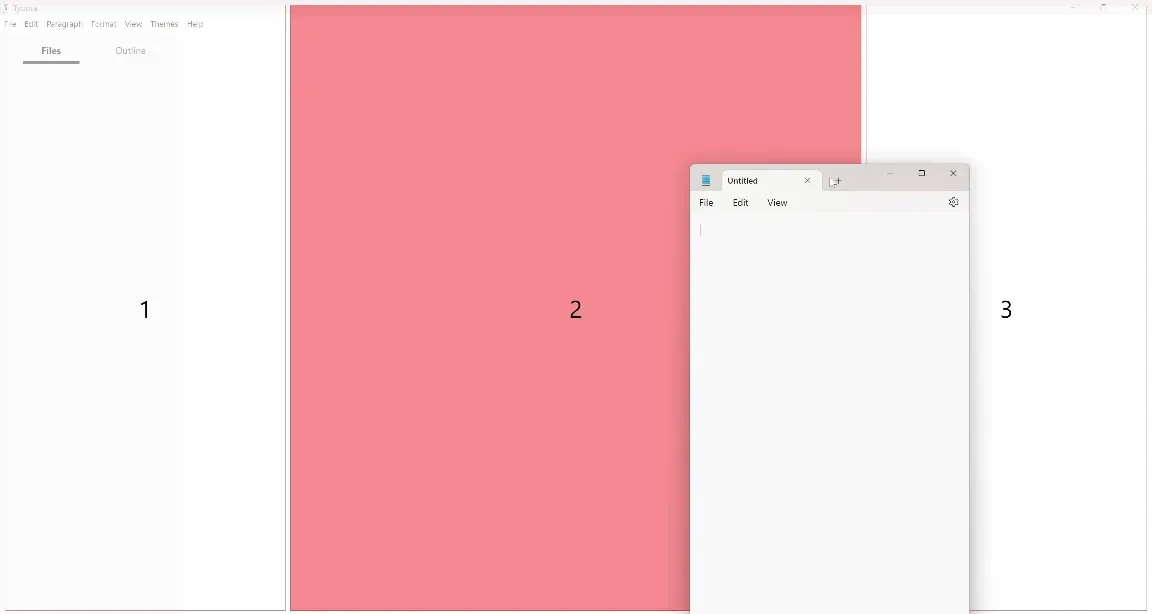
This is the most interesting application of PowerToys! In a nutshell, it allows you to customize the layouts where you can snap your apps!
As a developer who has a portrait screen, the default Windows layout always gives me a half left and half right. This setup is miserable as each app is skinny and the width is not readable.

I want to divide the layout as half top and half bottom. Boom! The FancyZone saves me. 
⌨️Shortcut
Just remember the Shift key is enough!
When you drag your app, hold the Shift key and you’ll see the zones appear.
🖱️Code
Is Compactible?
When you are trying to drop a window to a zone, it will first check if the window is eligible for zoning.
bool FancyZones::ShouldProcessSnapHotkey(DWORD vkCode) noexcept
{
if (!FancyZonesSettings::settings().overrideSnapHotkeys)
{
return false;
}
auto window = GetForegroundWindow();
if (!FancyZonesWindowProcessing::IsProcessableManually(window))
{
return false;
}
//...
}Remark
It’s no wonder developed by Microsoft… The code is so readable. Each function does only one thing. No nested
ifblock and all of them are early return. 😭😭 The code is just like poem.
Show Zones
This step is to show the zones you configure in the setting.

The intent is straightforward. Calculating the active zones and render the zone.
void WorkArea::ShowZones(const ZoneIndexSet&, HWND draggedWindow)
{
SetWorkAreaWindowAsTopmost(/*the current window*/);
DrawActiveZoneSet();
Show();
}The Windows API to actually draw the zone is this one:
WINUSERAPI
BOOL
WINAPI
ShowWindow(
_In_ HWND hWnd,
_In_ int nCmdShow);