I recently encountered a scenario where I needed to create a Docker image for my robotics tech stack. After messing with these tools for while, I thought it was a good time to give it a reflection. I’ve broken down Docker into what I see as its 3 most fundamental elements:
- layer
- image
- container
layer
A layer is something you build on top of. For example, ROS is built on top of the ubuntu system. The Dockerfile used to build a ROS image can use the FROM keyword to specify, “Hey, let’s start with the Ubuntu image and build our layers on top of it”.
+--------------------+
|  ROS Application   |
+--------------------+
|   ROS Framework    |
+--------------------+
|    Ubuntu OS       |
+--------------------+
|   Base Layer       |
+--------------------+
Each command in the Dockerfile creates a new layer, with the final image being a stack of these read-only layers.
# 1. Start from a base image
FROM ros:noetic-ros-core
# 2. Run commands to install software
RUN apt-get update && apt-get install -y git
# 3. Set the default command to run
CMD ["bash"]image
A good analogy for a Docker image is the operating system distro you flash onto a USB drive. The balenaEtcher - Flash OS images to SD cards & USB drives is a tool I often use to flash my Ubuntu-24.04 image into a flash drive.

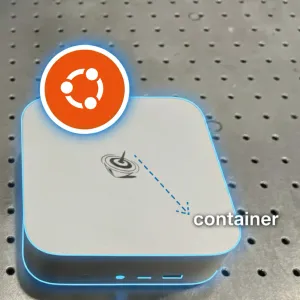
container
A container is a running instance of an image. Think of it as the computer where you install the Ubuntu distro from the USB drive you just flashed. That PC, now running Ubuntu, is the container.
In the world of Docker, however, you can create as many of these “PCs” as you want from a single image.
This reminds me of a previous discussion with a colleague where we were considering installing 2 different versions of Ubuntu on the same machine to test compatibility between Ubuntu-24.04 and Ubuntu-22.04. Hum, I think I will try testing this with docker first.