This week was a blast! I finally accomplished something I’ve wanted to do for a long time: run GPU-required code on an HPC cluster while keeping all the control logic and hardware connections on my local mini-pc.

My local mini-pc doesn’t have a GPU(see HKUST PhD Chronicle, Week 4, Action), but I need one to accelerate my computation. So, I feel obliged to build a quick prototype of this pipeline using MQTT.
What is MQTT?
Before we dive in, let’s briefly cover the basics of MQTT. It involves 3 main components:
- broker
- subscriber
- publisher
A nice analogy is:
- broker: the post office
- subscriber: the user who subscribe a monthly newspaper from the broker
- publisher: the one who deliver a certain type of “newspaper”

Remark
Few things to remind:
- the “subscriber” only care about topics, not who publishes them.
- the “publisher” only care about topics, not who receives the messages.
- the “broker”(post office) will ensure messages get from the right publishers to the right subscribers.
Understand the HPC Cluster
The HPC cluster I use has 2 “layers”: a login node and one or more compute nodes.

Typically, you can only ssh to the login node. You can’t, most of the time, connect directly ssh to a compute node. This adds a layer of complexity not found with a typical GPU VPS.
My Objective
📌application objective

My goal is to create a system where:
- for any subscriber, whether on the mini-pc or the HPC, it can receive messages from any publisher.
- for any publisher, whether on the mini-pc or the HPC, it can send messages to the central broker.
📌ssh tunnel objective

The preceding diagram is the foundation of this entire project. It shows the multi-hop SSH tunnel that makes communication possible. Let’s look at the 2 key commands:
Remark
The syntax of
ssh -Randssh -Lhas both format ofport:host:hostport.
ssh -R 1883:localhost:1883 <user>@<hpc.domain>(Run on the mini-pc)- the
-Rrefers to “reverse” - the first
1883refers to the port of the machine which runs thesshcommand, i.e. mini-pc in this case - the second part
localhost:1883refers to the host machine, in this case<user>@<hpc.domain> - the whole sentence means, please drill a
1883port at<user>@<hpc.domain>, any traffic it receives there will be sent backward through the tunnel to port1883on my local mini-pc.
- the
ssh -L 1883:localhost:1883 <user>@login2- the
-Lrefers to “local” - the first
1883refers to the port of the machine which runs thesshcommand, i.e. the compute node - the second part
localhost:1883refers to the host machine, in this case<user>@login2 - the whole sentence means, please drill a
1883port at the local machine(gpu node), forward any traffics it receives to port1883(gpu node) port to the1883port of remote server (<user>@login2).
- the
Remark
This diagram is so important. You can get back to this diagram if you needed. Please be very careful at the
-Land-R.
Remark
One more careful touch on the
-Land-R.
-Lis for pulling a remote service to your machine-Ris for pushing a local service to a remote machine.Once connection is established, data can flow in both direction.
Ultimate SSH Setup with vscode
Prerequiste
Install the mosquitto to act as the broker.
$ sudo apt update
$ sudo apt install mosquitto mosquitto-clientsConfigure Mosquitto to allow network connections. Create a new config file:
sudo nano /etc/mosquitto/conf.d/local.confAdd these two lines to the file, then save and exit:
listener 1883
allow_anonymous true
Finally, restart the service:
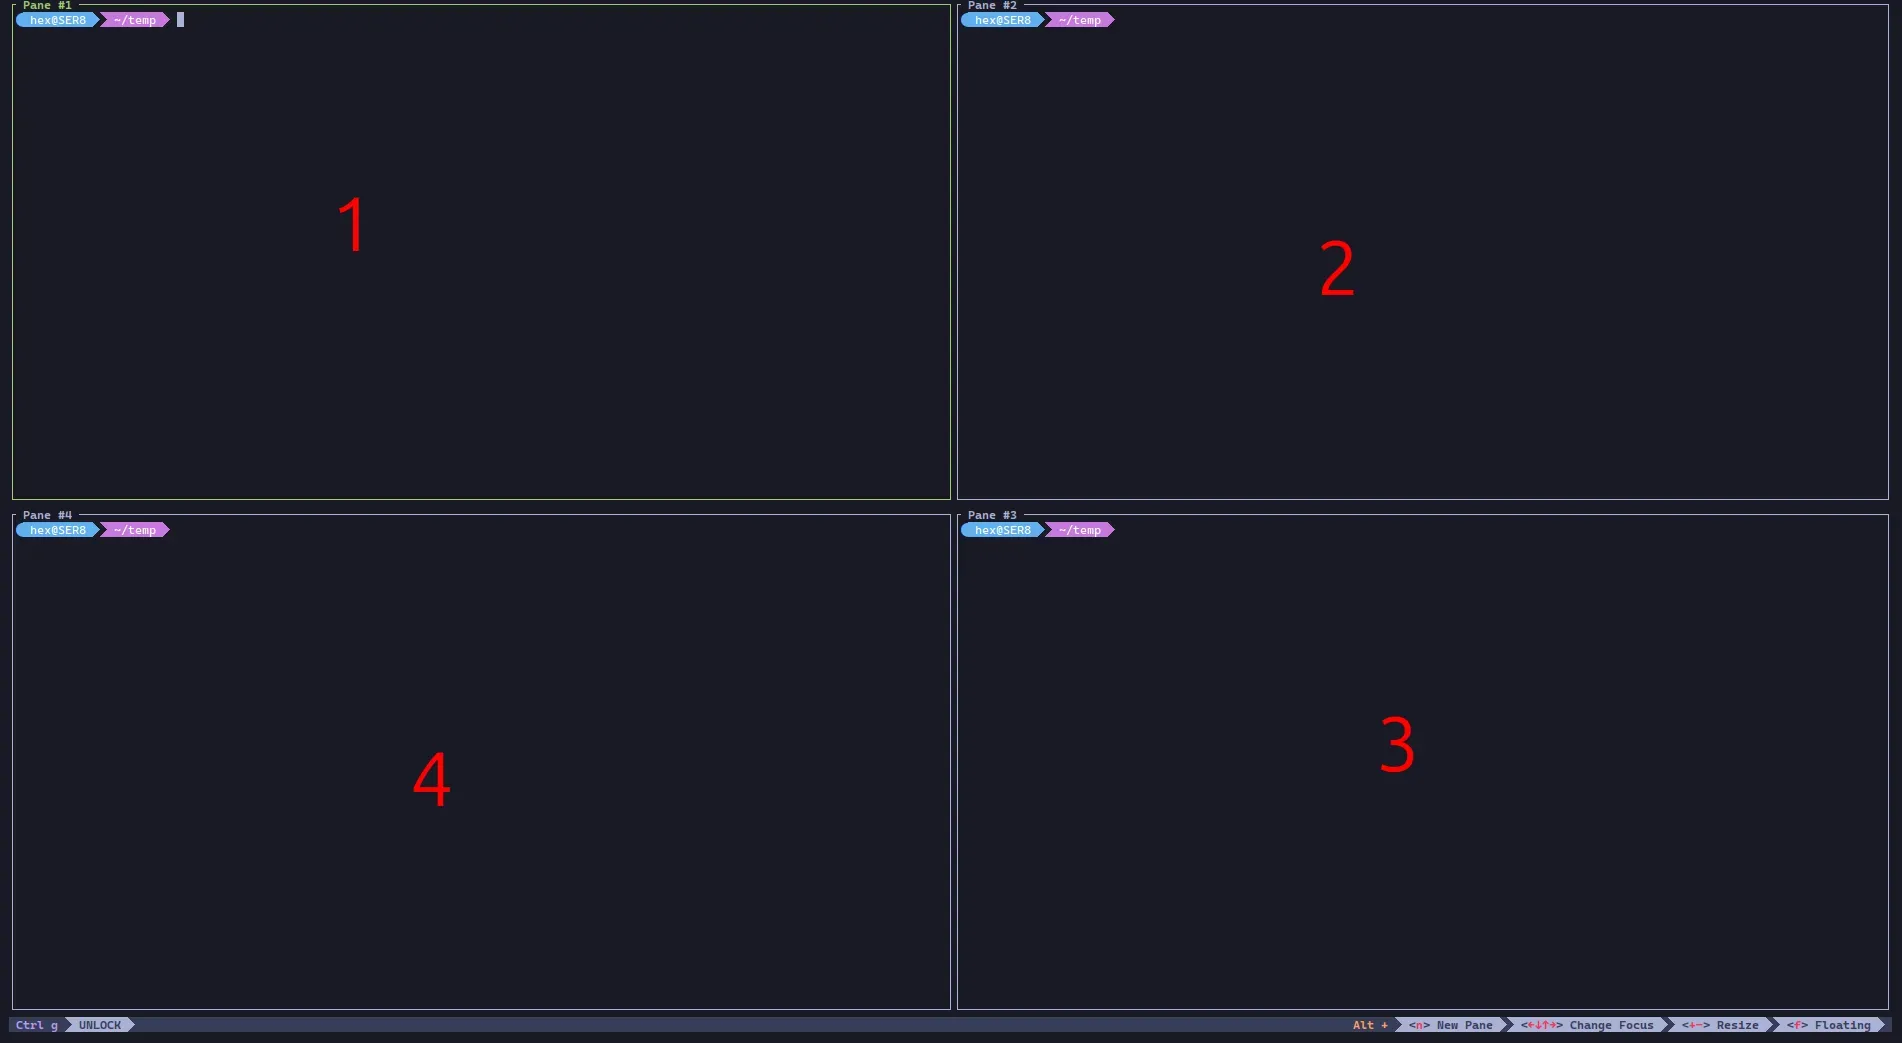
sudo systemctl restart mosquittoPrepare Four Terminals on your local mini-PC.
Download the VS Code CLI on the HPC.
$ curl -Lk 'https://code.visualstudio.com/sha/download?build=stable&os=cli-alpine-x64' --output vscode_cli.tar.gz
$ tar -xf vscode_cli.tar.gz1st terminal: Run the MQTT Broker
This terminal will run your central broker. Leave it open.
# run the mqtt broker
$ mosquitto -v2nd terminal: Local Subscriber
This terminal will listen for messages from the HPC. Leave it open.
# make a subscriber
$ mosquitto_sub -h localhost -p 1883 -t "hpc/test"3rd terminal: The Reverse Tunnel
This terminal establishes the first leg of the tunnel from your mini-pc to the HPC login node. Leave it open.
# setup the ssh reverse tunnel
$ ssh -R 1883:localhost:1883 <user>@<hpc.domain>
# your terminal will now change to @login1 or @login2
[<user>@login1 ~]$4th terminal: The VS Code Tunnel
This terminal establishes the connection for your VS Code editor. Leave it open.
# ssh to your hpc cluster
$ ssh <user>@<hpc.domain>
# your terminal is now changed to @login1 or @login2, i.e. the login node
[<user>@login1 ~]$
# request a GPU compute node in shell mode
[<user>@login1 ~]$ srun --partition=gpu-a30 --gpus-per-node=1 --time=02:00:00 --pty bash
# your terminal is now changed to @gpu01 or @gpu{num}
[<user>@gpu01 ~]$
# start the vscode tunnel
[<user>@gpu01 ~]$ ./code tunnelvscode GUI
Open a vscode application, click the green icon >< in the bottom-left. Follow the prompts to setup the tunnel.
Once connected, you have a full-featured editor and terminal running directly on the HPC compute node!
Remark
The benefits using vscode is that you can have a GUI to modify the code or add more terminals. You can also use
tmuxbtw.
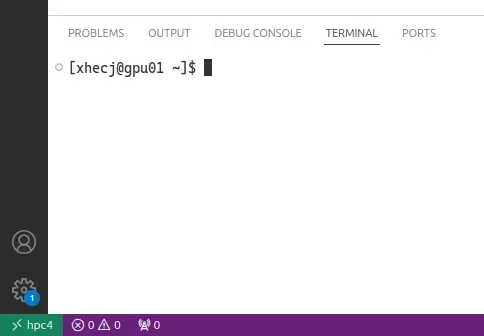
5th terminal: VS Code Integrated Terminal
Inside the VS Code GUI, open an integrated terminal. The objective here is to create the final link in our tunnel, connecting the compute node to the reverse tunnel port we opened on the login node.
$ ssh -L 1883:localhost:1883 <user>@login1Test it all!
That’s it! All the connections are now established. With all the tunnels in place, your mini-PC and the HPC compute node can now communicate freely through the central broker. Feel free to open more terminals in VS Code or on your local machine to make subscribers and publishers to test the connection.
Remark
One final reminder. The
login1could belogin{num}. Be careful when forwarding.